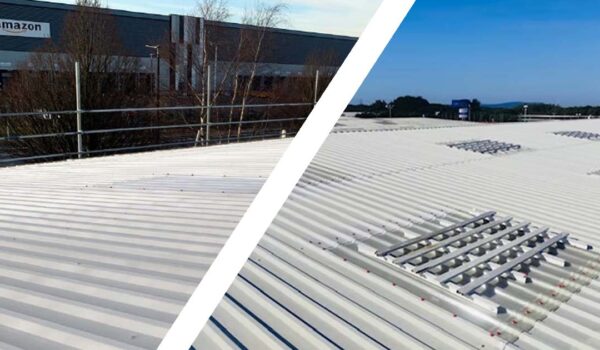
Having completed a cut edge corrosion project on a storage unit in Bolton we decided to share some of the images and project details with you
We were commissioned to carry out cut edge corrosion work by the owners of the building. They had been alerted to the problem by a surveyor who had been sent to inspect the property for an insurance company. The building is currently occupied by tenants of the owners, a local timber merchant.
Cut Edge Corrosion Work Preparation
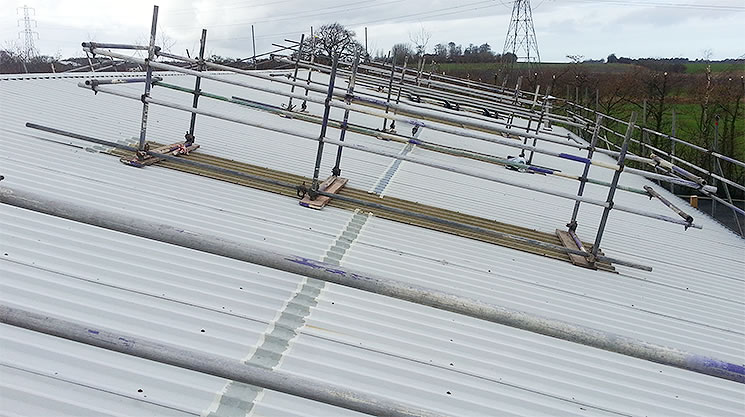
As with any typical cut edge corrosion work project we start by washing down. This is done on the sections of the roof to be treated. However work can only begin after scaffolding has been installed for safety. The scaffolding creates a barrier around the perimeter of the roof. It also blocks off the polycarbonate skylight sheets. Many older skylights are not able to take the weight of a person.
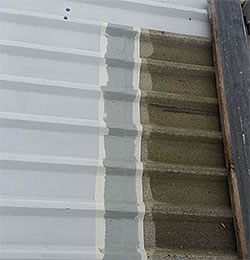
After washing down the sections to be treated we were ready to grind back to the steel. This was done by hand as its a technically skilled task that requires a high level of dexterity. The quality of steel in roof sheets often varies, as does the thickness of the factory applied paint. The intensity of grinding therefore needed to be assessed on a sheet by sheet basis. Once the loose paint and corrosion was removed we were left with a clean tight edge, ready for the Seamsil Sealant.
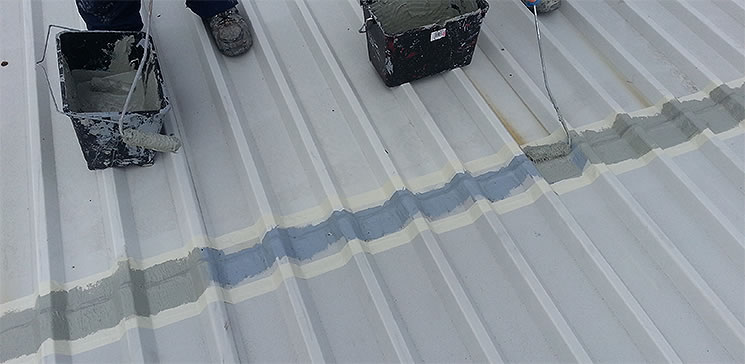
Further preparation included masking off all areas to be treated. We used industrial masking tape for this task. This allowed for a much cleaner, straight line finish once the tape was removed. We ran the tape along both the steel roof sheets and skylights.
The Seamsil System line is visible inside the building now, since we applied it to the skylights. For this reason it was important to mask off these areas. Nobody wants to look up and see a messy paint job on a skylight. It just looks bad, unprofessional and not the way we do things here at D&D Coatings.
Seamsil 100 System Application
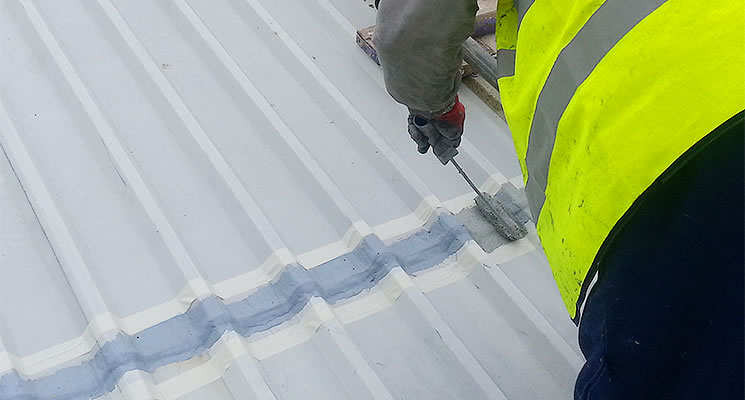
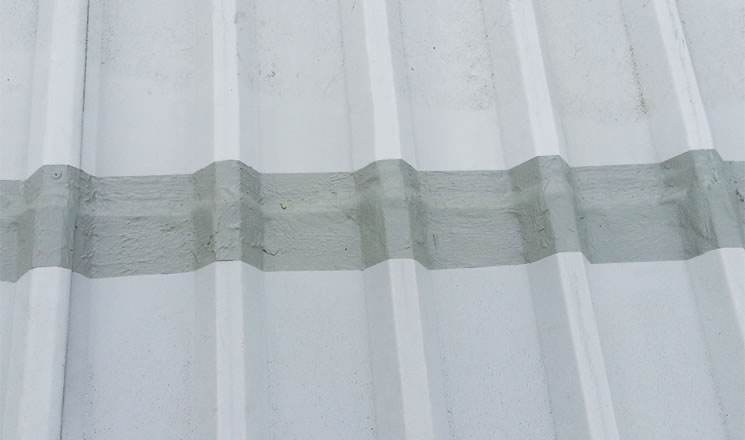
Once we completed all the preparation work we started to apply the Seamsil 100 System. First we sealed the overlaps on all the mid-sheets with a mastic. We applied this simply using gun applicators. Next we applied a Seamsil Basecoat to all the areas we were treating. On this particular projected we deemed it necessary to apply more than one base-coat due to level of movement in the building roof structure.
Finally we completed each section with a Seamsil Topcoat, again applied by roller. We removed all the masking tape, the scaffolding was dismantled and we carried out a final sweet to clean any loose debris from the roof top. The client and surveyor inspected the roof and we are pleased to say, yet again, we were complimented on the quality of our workmanship. The tenant also thanked us for keeping disruption to a minimum.
